
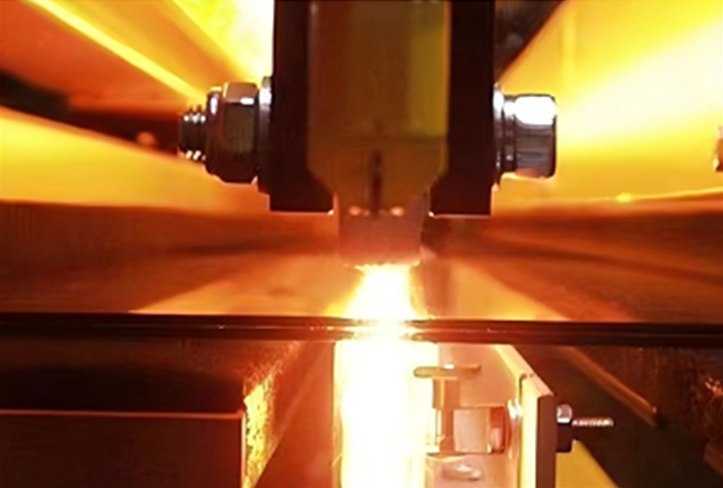
Stop the Chips: Why We Preheat Glass Before Cutting
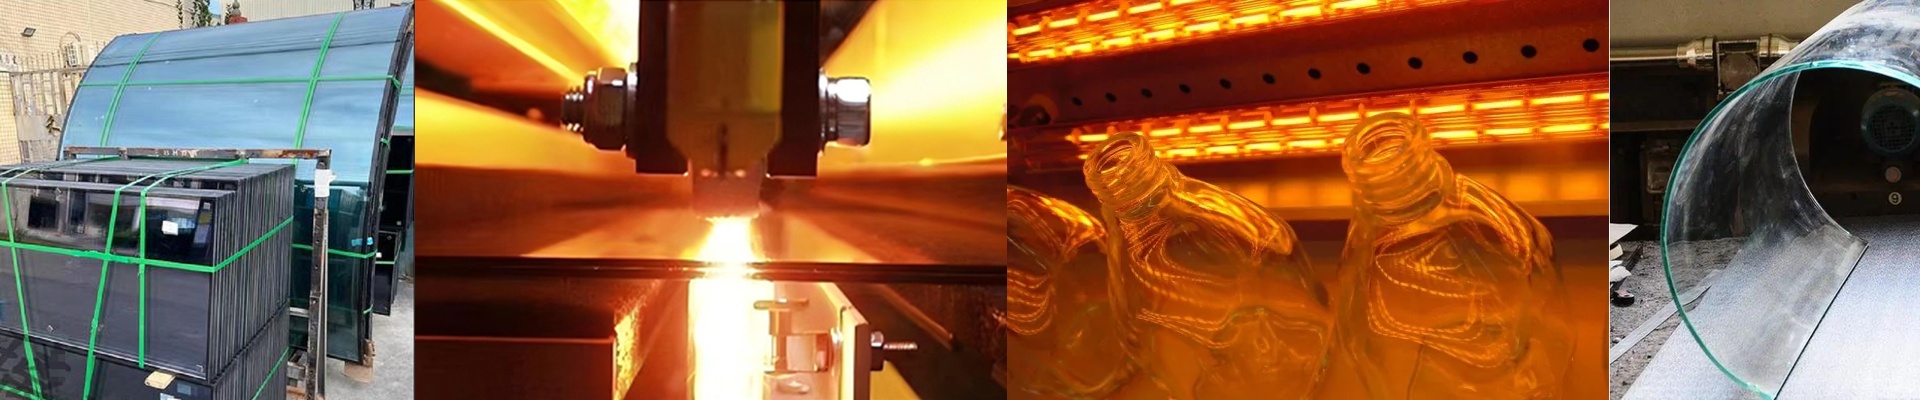
If you’ve ever cut cold glass, you know it’s a bit of a gamble. You score the surface, you apply pressure, and then you pray. But because cold glass is so tense, the break often goes rogue. You end up with those annoying chips or corner breakouts where the glass just refuses to follow your line. It’s frustrating, it wastes material, and it looks sloppy. The fix? We use infrared (IR) preheating. Basically, we hit the glass with targeted IR radiation right before the cut. It warms up the surface, which makes the glass a lot more “relaxed” when the cutter hits it. Here is why it actually works. Think of it as smoothing out the tension. The IR lamps soak into the surface and bridge the temperature gap between your score line and the rest of the sheet. When the glass finally snaps, the fracture travels in a straight, clean line. No more jagged edges. No more wasted sheets. Just a clean, satisfying break. The gear you’ll need You can’t just use any old heater. You need high-intensity shortwave or medium-wave IR emitters. These things are powerful enough to get the glass up to temperature in a matter of seconds while it’s still moving on the conveyor. But you have to be careful. It’s a tight window. If the glass is too cold, you’re still chipping. If you crank it too high, you risk thermal shock or warping the whole sheet. It’s all about hitting that sweet spot. A few things to watch out for There are some trade-offs here. Those high-wattage arrays pull a lot of power. Before you plug them in, make sure your electrical panel and breakers can actually handle the peak amperage, or you’ll be staring at a tripped breaker all morning. And then there’s the positioning. If the lamps are too close, you’ll get hot spots. If they’re too far, it won’t work. You’ll want a solid mounting bracket to keep the gap perfectly consistent across the entire width of the glass. Get the distance right, get the power right, and the glass just behaves.